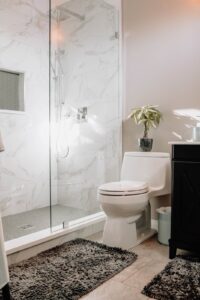
How to clean overlapping sliding shower doors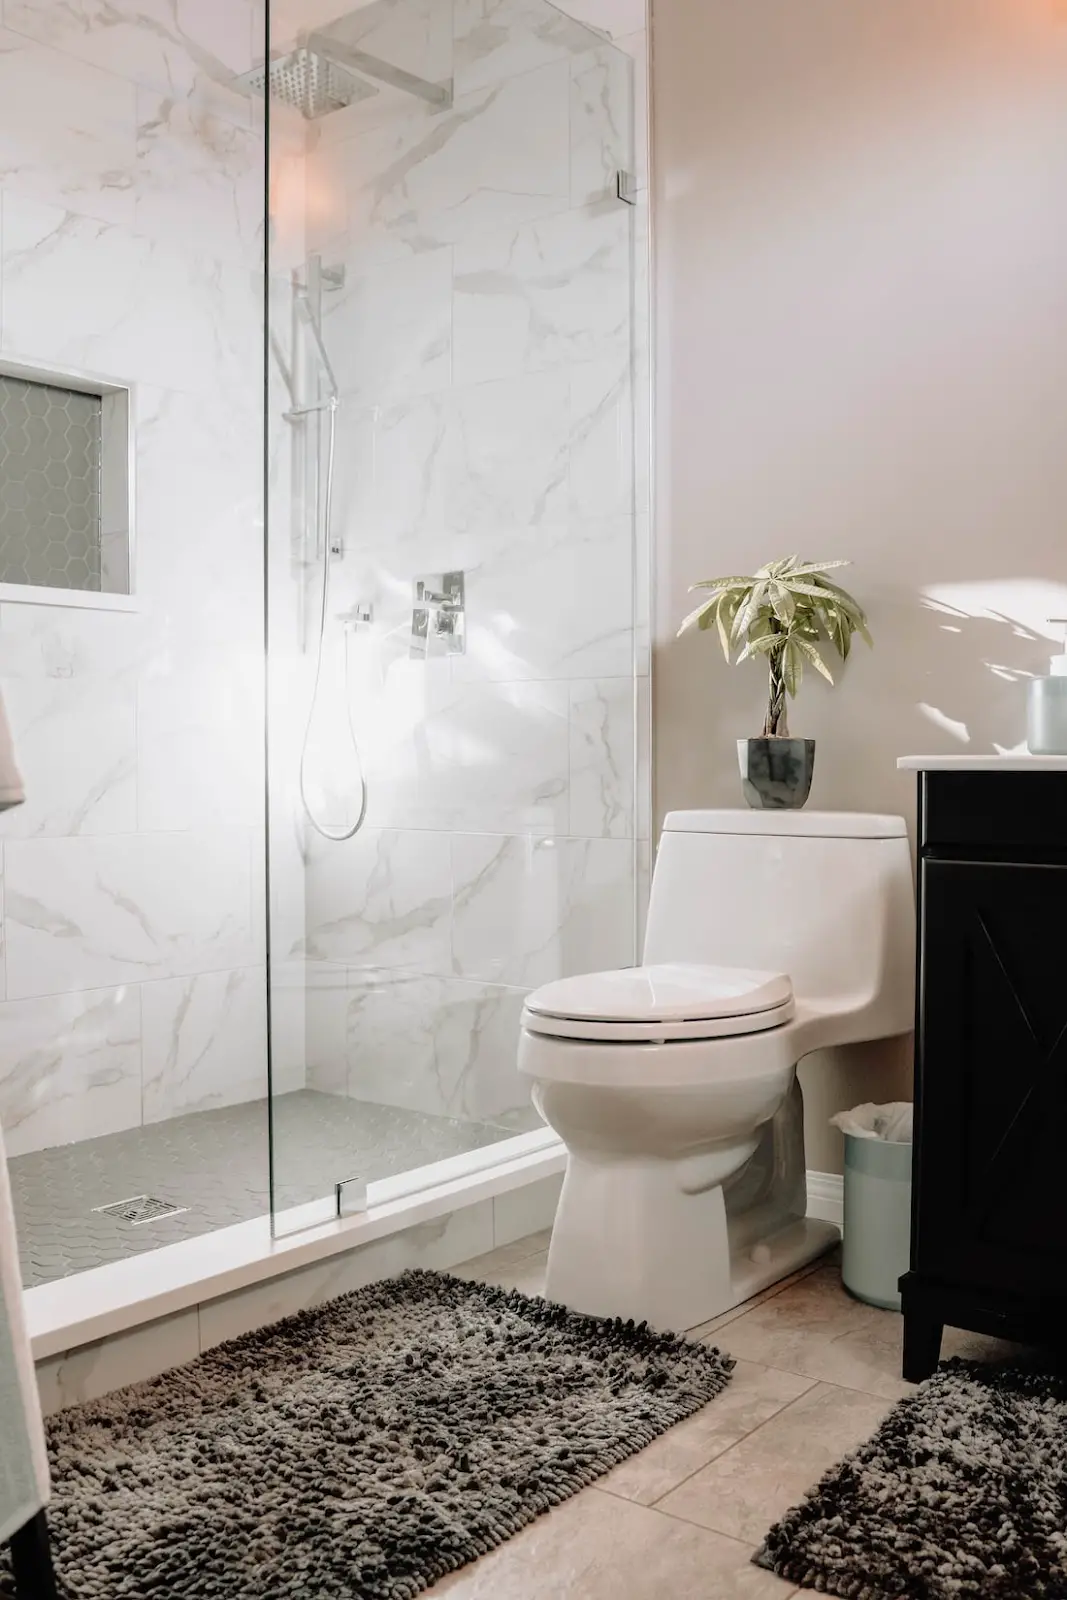
Sliding shower doors are a fantastic way to enhance the appearance and usefulness of any bathroom and making sure you know how to clean overlapping sliding shower doors is essential for preventing mold and bacteria buildup.
When they’re well installed, they’re easy to use and kept clean. These days, overlapping sliding shower doors are common in many homes, so if you have them in your bathroom, then you probably understand the big dirt problem that these types of doors pose.
Overlapping sliding shower doors, when closed, overlap almost completely; leaving only about 12 inches of space between them. This leaves little room for light and air to get in and thus creates dark, moist conditions perfect for mold and bacteria growth. So if you have overlapping sliding shower doors, then here are some ways you can clean them safely and effectively:
Completely Removing The Doors
This is a very good option for detachable sliding shower doors. Make sure that you have everything you need to complete the job – rubber gloves, a bucket and sponge, a scrub brush, and a squeegee.
Start by removing the door stopper’s screw at the bottom using a screw. After that, carefully push the door while maintaining a firm grasp on it to prevent it from falling off. The door will come off if you push it up and in your direction. Repeat this procedure to remove other shower doors.
After you’ve taken both doors off, put them somewhere safe where they can’t be smashed or even knocked off. You ought to lean them against a wall though.
You can now start the cleaning process by using your preferred cleaning product and bleach to clean the track. To completely remove the dirt, scrub the tracks with a stiff brush. Also, antibacterial liquid can be used to get rid of stubborn dirt.
Use a soft sponge and a very good cleaning solution to clean the shower doors. Then, dry them with a dry sponge after giving them a thorough rinse with a sponge that has been soaked in water.
Place and properly position one shower door on the track. Place it on the lower track after snugly screwing the rubber stopper back into the frame.
For the opposite door, repeat the reinstallation procedure.
Using a Sponge Stick
If removing the sliding door seems like too much labor, a straightforward substitute is to use a painter’s sponge stick – a long stick with a sponge connected to the tip.
There are two types of sponge sticks – the cylindrical and the smaller ball sponge. Since they are very thin, cylindrical sponges may easily fit into the narrowest spaces of overlapping sliding doors.
Put the sponge in a bowl of water or your cleaning solution to soak. Make sure the sponge sops up as much cleaning solution as it can. Through the crack, push the sponge. Make sure the sponge’s other end reaches the free edge of the sliding shower door before sliding it through the overlapping piece of the door. To remove all the dirt, move the object back and forth.
Then, rinse with water. Either use a brand-new, clean sponge or wash the old one, use a dry sponge to help get all the cleaning solution out at this stage, to make sure there is no water left behind and prevent corrosion.
Scrubbing With Bleach and Chlorine-Based Cleaner
If your sliding shower doors are extremely dirty and stained, or if you can’t remove the mildew by completely removing the glasses, then you should use bleach or a chlorine-based cleaner.
Mix the bleach with water, and then use a scrub brush to wipe it onto the shower doors. Allow the solution to dry for about an hour, and then finish cleaning with a sponge/clean cloth dipped in clean water.
If you use bleach, you should note that it can discolor and damage the surfaces of plastic sliding shower doors, and damage the finish on metal doors. If you choose to use a chlorine-based cleaning product, it is best to test it in an inconspicuous place to make sure that it does not damage the finish on your sliding shower doors.
Vinegar and Baking Soda
If your sliding shower doors are made of metal and become mildly stained, you’re better off using a non-bleach cleaner like baking soda or white vinegar. These natural cleaners are mild enough to not damage or discolor plastic or metal, and they are also effective at cleaning away dirt and grime.
Simply mix 1 tablespoon of baking soda with 1/2 cup of vinegar, and then use a sponge to wipe the mixture onto the shower doors. This cleaning solution is great for removing rust and stains from the metal surface. Baking soda is a great cleaning product because it is made of a variety of different ingredients such as sodium bicarbonate, corn starch, and other ingredients that make it an excellent cleaning product.
Using Dry Shampoo
If your sliding shower doors are only lightly stained and the doors are made of plastic, you can use dry shampoo to clean them.
Simply sprinkle the dry shampoo onto a sponge, and rub it onto the surface of the doors. You can also use a dry shampoo to clean light stains on metal shower doors.
Using a High-Pressure Hose
Another method for cleaning overlapping sliding shower doors is to use a hose with water pressure that is strong enough to flush out any dirt and grime that may be present. You can use soapy water or any other cleaning agent you like, but be sure it can quickly remove dirt buildup.
First apply the soapy water using the hose, making sure the liquid reaches the sliding door’s crevices. After letting the cleaning solution stay on the glass surface for a bit, rinse it off with the same water pressure.
Conclusion
Knowing how to clean overlapping sliding shower doors can be a bit challenging. These doors are usually made of plastic, so they are prone to collecting dust and grime, which then leads to mold and mildew buildup. It is important to clean them thoroughly at least once a month. If you have a particularly dirty pair of sliding shower doors, or if you just want to give them a good clean, then it’s best to start with a non-bleach cleaner. You can then finish the job with a bleach solution to disinfect and kill any remaining bacteria.